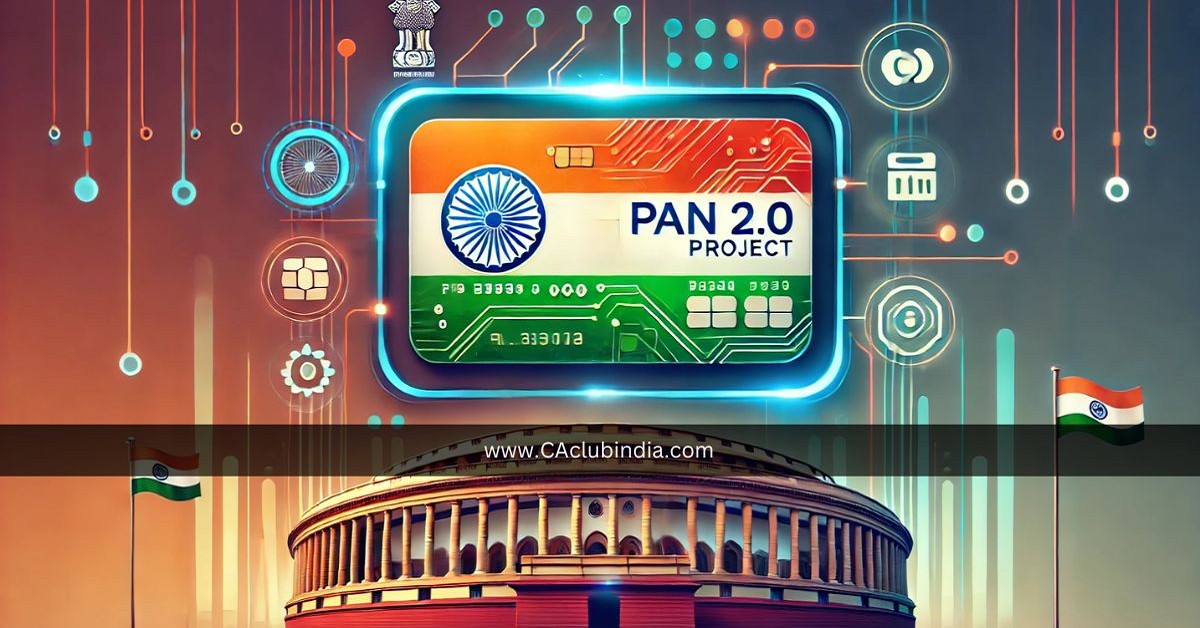
This article will give a comprehensive step by step understanding of how to apply and get your PAN 2.0
Permanent Account Number (PAN) has long been essential for financial activities in India. Now, with the introduction of PAN 2.0.
It's more secure and tech-friendly than ever, featuring a QR code for easy verification and enhanced encryption. Follow these steps to get your PAN 2.0 without hassle:
Step 1: Know What's New with PAN 2.0
- - QR Code: Contains your name, date of birth, and photo for seamless authentication.
- - Better Security: Advanced encryption reduces fraud risks.
- - Digital Option: The e-PAN, a digital version of your card, is quick and easy to access.

Step 2: Check If You're Eligible
- - Indian Citizens: Use Form 49A.
- - Foreign Nationals: Use Form 49AA.
- - Why You Need It: It's mandatory for tax filing, large deposits, property purchases, and more.
Step 3: Choose Your Application Portal
Apply via one of these government-authorized websites:
- - [NSDL e-Gov] (https://www.tin-nsdl.com)
- - [UTIITSL] (https://www.pan.utiitsl.com)
Step 4: Complete the Online Application
1. Select "New PAN Application"
2. Pick the correct form:
- Form 49A for Indian citizens.
- Form 49AA for foreign citizens.
3. Fill in your details carefully, including:
- Full Name (as per Aadhaar).
- Date of Birth.
- Father’s Name (for individuals).
- Contact and address information.
Step 5: Upload Your Documents
Provide digital copies of these:
- - Identity Proof: Aadhaar, Passport, Voter ID, or Driving License.
- - Address Proof: Aadhaar, Utility Bill, or Passport.
- - Birth Proof: Birth Certificate, Passport, or Matriculation Certificate.
- - Photo: A clear, passport-sized photo as per specifications.
Step 6: Pay the Fees
- - ₹93 (including GST) for Indian addresses.
- - ₹864 (including GST) for foreign addresses.
Payment options include:
- - Net Banking
- - Credit/Debit Card
- - Demand Draft
Step 7: Authenticate Your Application
- - Aadhaar Linked: Authenticate with an OTP sent to your Aadhaar-registered mobile number.
- - Non-Aadhaar: Submit documents for manual verification.
Step 8: Save Your Acknowledgment Number
Once submitted, you’ll receive a 15-digit Acknowledgement Number for tracking your application.
Step 9: Get Your e-PAN Instantly
- - If Aadhaar is verified, your e-PAN will be emailed immediately.
- - It's a valid, digital substitute for the physical PAN.
Step 10: Wait for the Physical Card
- Your PAN card will arrive via post in about 15 business days.
- Use your acknowledgment number to track its delivery.
Quick Reminders
- PAN Only: Surrender duplicate PAN cards to avoid penalties.
- Aadhaar Linking: Ensure PAN is linked with Aadhaar for smooth processing.
- Double-Check Details: Errors can lead to delays or rejections.
In a Nutshell
PAN 2.0 is smarter, faster, and safer. Apply today to stay compliant and enjoy the enhanced benefits of this upgraded financial identity tool.
For help, contact the customer support teams of NSDL or UTIITSL, or visit a nearby PAN service center.


 CAclubindia
